
The Kitchen, Part 1
Wherein I learn to apply laminate, and much more

I’m sitting on the banks of the West Branch of the Susquehanna River. After nearly two weeks of “people-ing”, I’m grateful to have this time of quiet and to sit here and maybe even be lucky enough to spot that eagle flying by again.

Don’t get me wrong! I absolutely loved being with my friends and family, I just need…space. Quiet. To have a day where I don’t talk to anyone. For the vast majority of my life, I’ve thought I was an extrovert. And maybe I have been, but these days I am so heavily introverted that my need to get away and be still keeps surprising me.
But that is not what this post is about. Nope! This post is about the heart and hearth of any home: The Kitchen! And as I was building out Mystique, I had a couple of requirements.
The first one sounds simple and absolutely is not: how high should the countertop be? Every other decision depends on the height of the countertop and the sink. I can’t stand upright in Misty, but I can stand hunched over…and that is not how I wanted to use the counter as that would lead to back problems probably within a week. So I knew I’d be sitting on my Boxio as a stool while I was at the counter.
A quick note about the Boxio, because I'm not giving my bathroom habits their own post and this is where it enters the picture anyway. The Boxio Camping Toilet is…well, exactly that. I tried a couple of different toilet solutions, including a portable collapsing toilet stool that, frankly, scared the shit out of me (pun intended) that it would collapse while I was sitting on it. No, thank you. I went with the Boxio because it was nice and stable and the box design means everything is…encapsulated…in case of any leaks. And it just looks like a box. And it has a nice little cushion on top to turn it into a seat. Yes, it is probably weird to be sitting fully clothed on your toilet while you are in your kitchen but hey, welcome to life in a minivan.
Anyway, back to the kitchen: what is the right height to wash dishes and cut vegetables when I am sitting on an 11” high seat? After much quality assurance testing in my apartment, I decided 18-19” was the right height.
One thing about me: I am a weaver. Not of threads or textiles, but of ideas. I prefer to take an existing idea/concept and then make it my own rather than invent one from scratch. I did this with code when I was a programmer, with ideas when I write a sermon, and, apparently, when building out a van. So I started to look for an existing piece of furniture that, when it had a countertop on it, would be 18-19” high.
But I also had other requirements. I also knew I needed to have a way to put a sink in, with both water supply tank and grey water tank. And, most importantly, it had to have a section big enough to fit the ginormous instant-pot that I had. At the time, I had the 6.5 quart one with an air fryer on top (Yes, that is a real thing. No, it was not as great as it sounded and I no longer have it, but I built the kitchen around it! More on that in part 2). That instant pot measured in at about 14x14x14. So that meant that the cabinet needed to be at least 14 inches high inside and deep.
And, finally, I didn’t want it to be more than 18 inches deep because I knew I wanted to have a center aisle that my 12 inch wide Boxio could slide up and down with room for my legs when I was sitting down.
Oh, and I didn’t want to pay an arm and a leg.
So I started looking for cabinets that met these requirements. I looked at entertainment consoles (too long and/or too short), kitchen cabinets (too high). I looked at bureaus and chests. I looked online and in second-hand stores. I saw online that many vanlifers use the Ikea kids play-kitchen but that didn’t meet ANY of my requirements.
Finally, I found just the cabinet that I wanted at Wayfair and ordered it. And then realized it was coming from Turkey! So Andy (my build-partner) and I moved on to other things for a while until it came in.
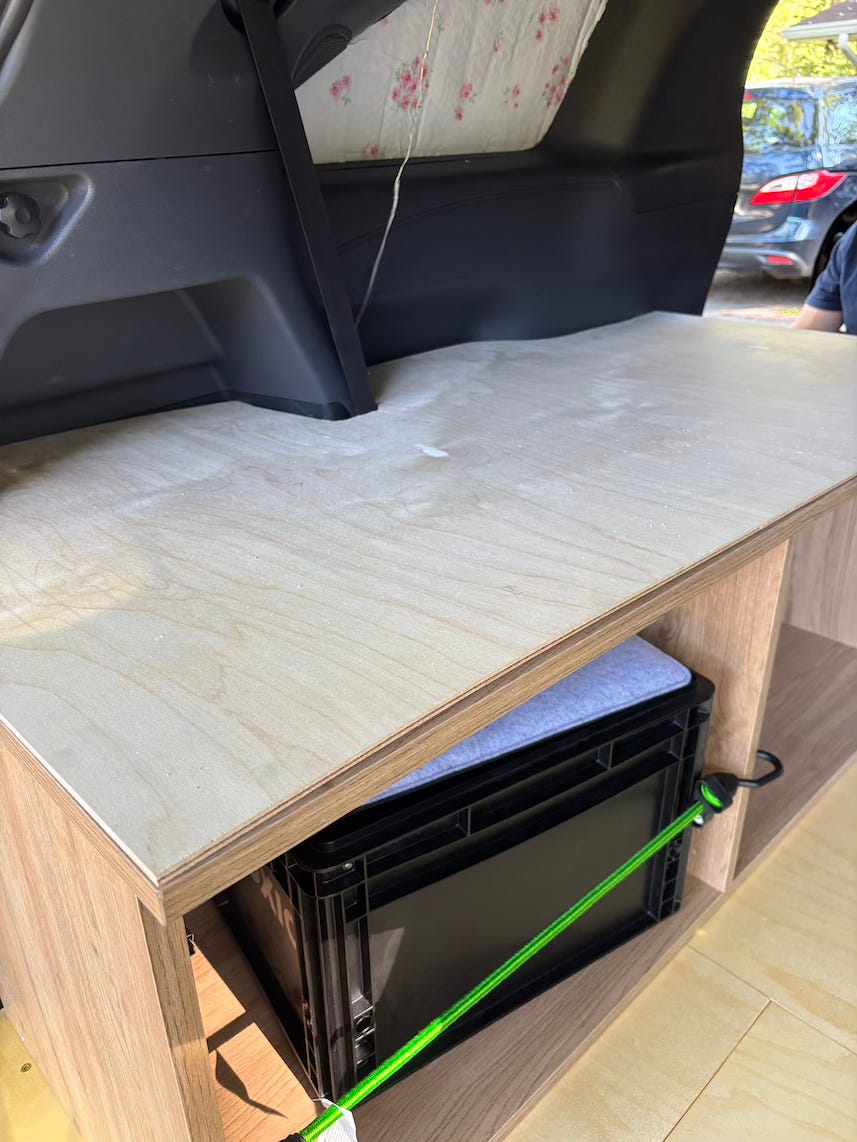
When it finally arrived, the real fun began. We put the cabinet together, slid it into Mystique. I don’t think there is a single straight line in Misty, so there were SO MANY gaps.
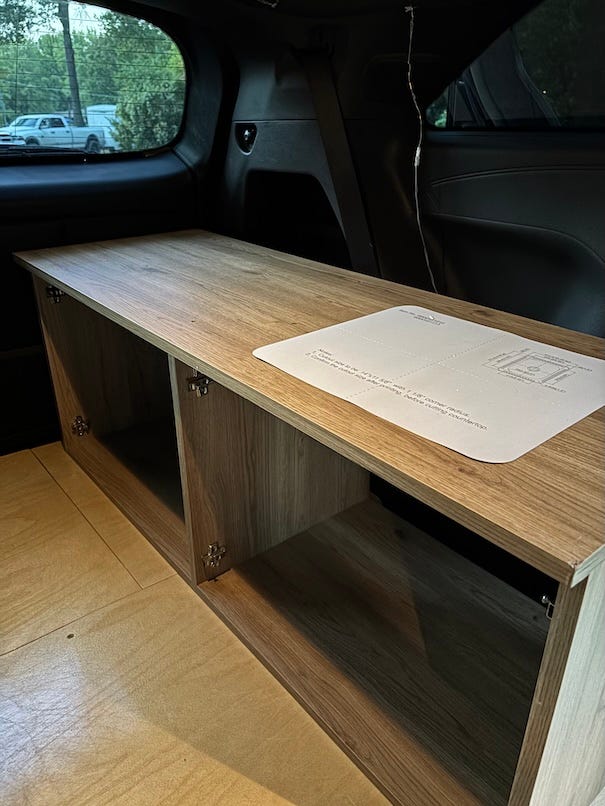
But that was fine, because we knew we were going to put a countertop on top of the cabinet. But to get it as flush to as much wall as we could, we had to cut a little bit out of the floor of the cabinet. Thus began the ritual that would be repeated numerous times over this part of the build: Put it in, see how it fits, take it out, cut/adjust.
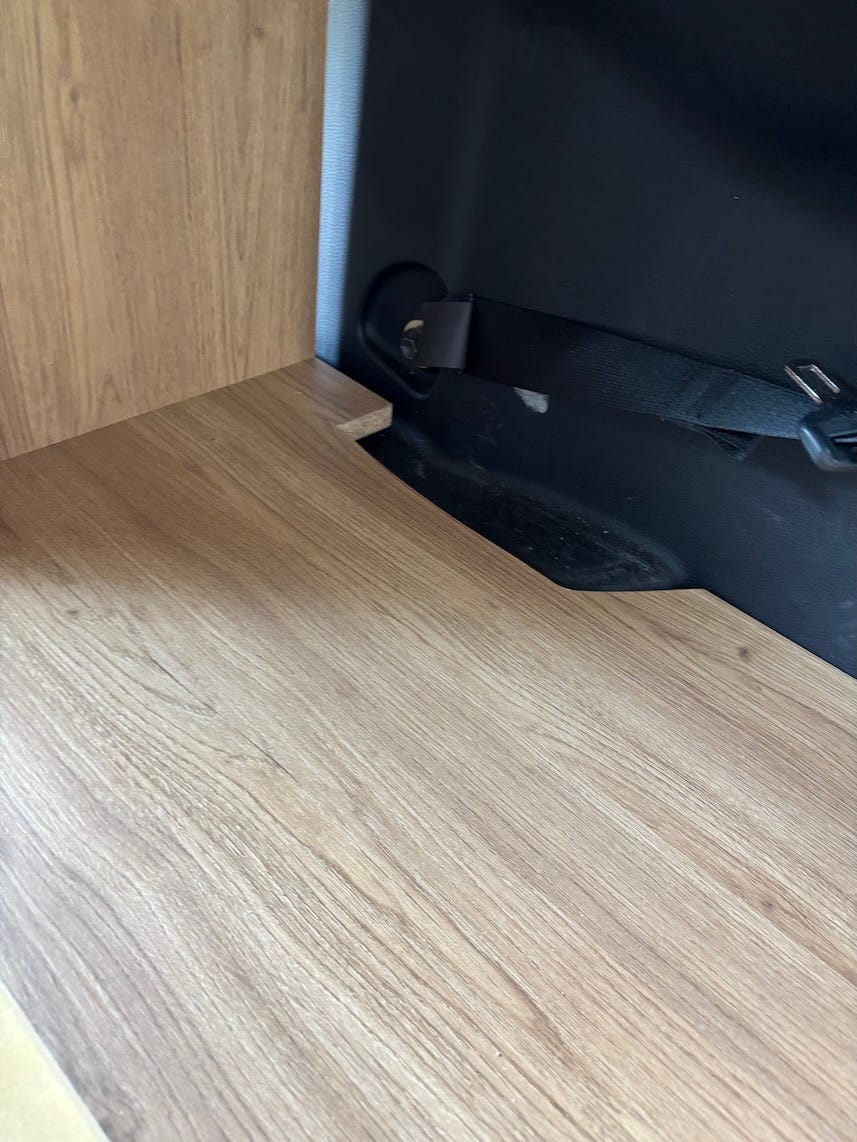
When we were happy with how it would seat on the floor and against the wall, we moved onto the countertop. We made a cardboard template of the entire top. Every curve. Every nook.
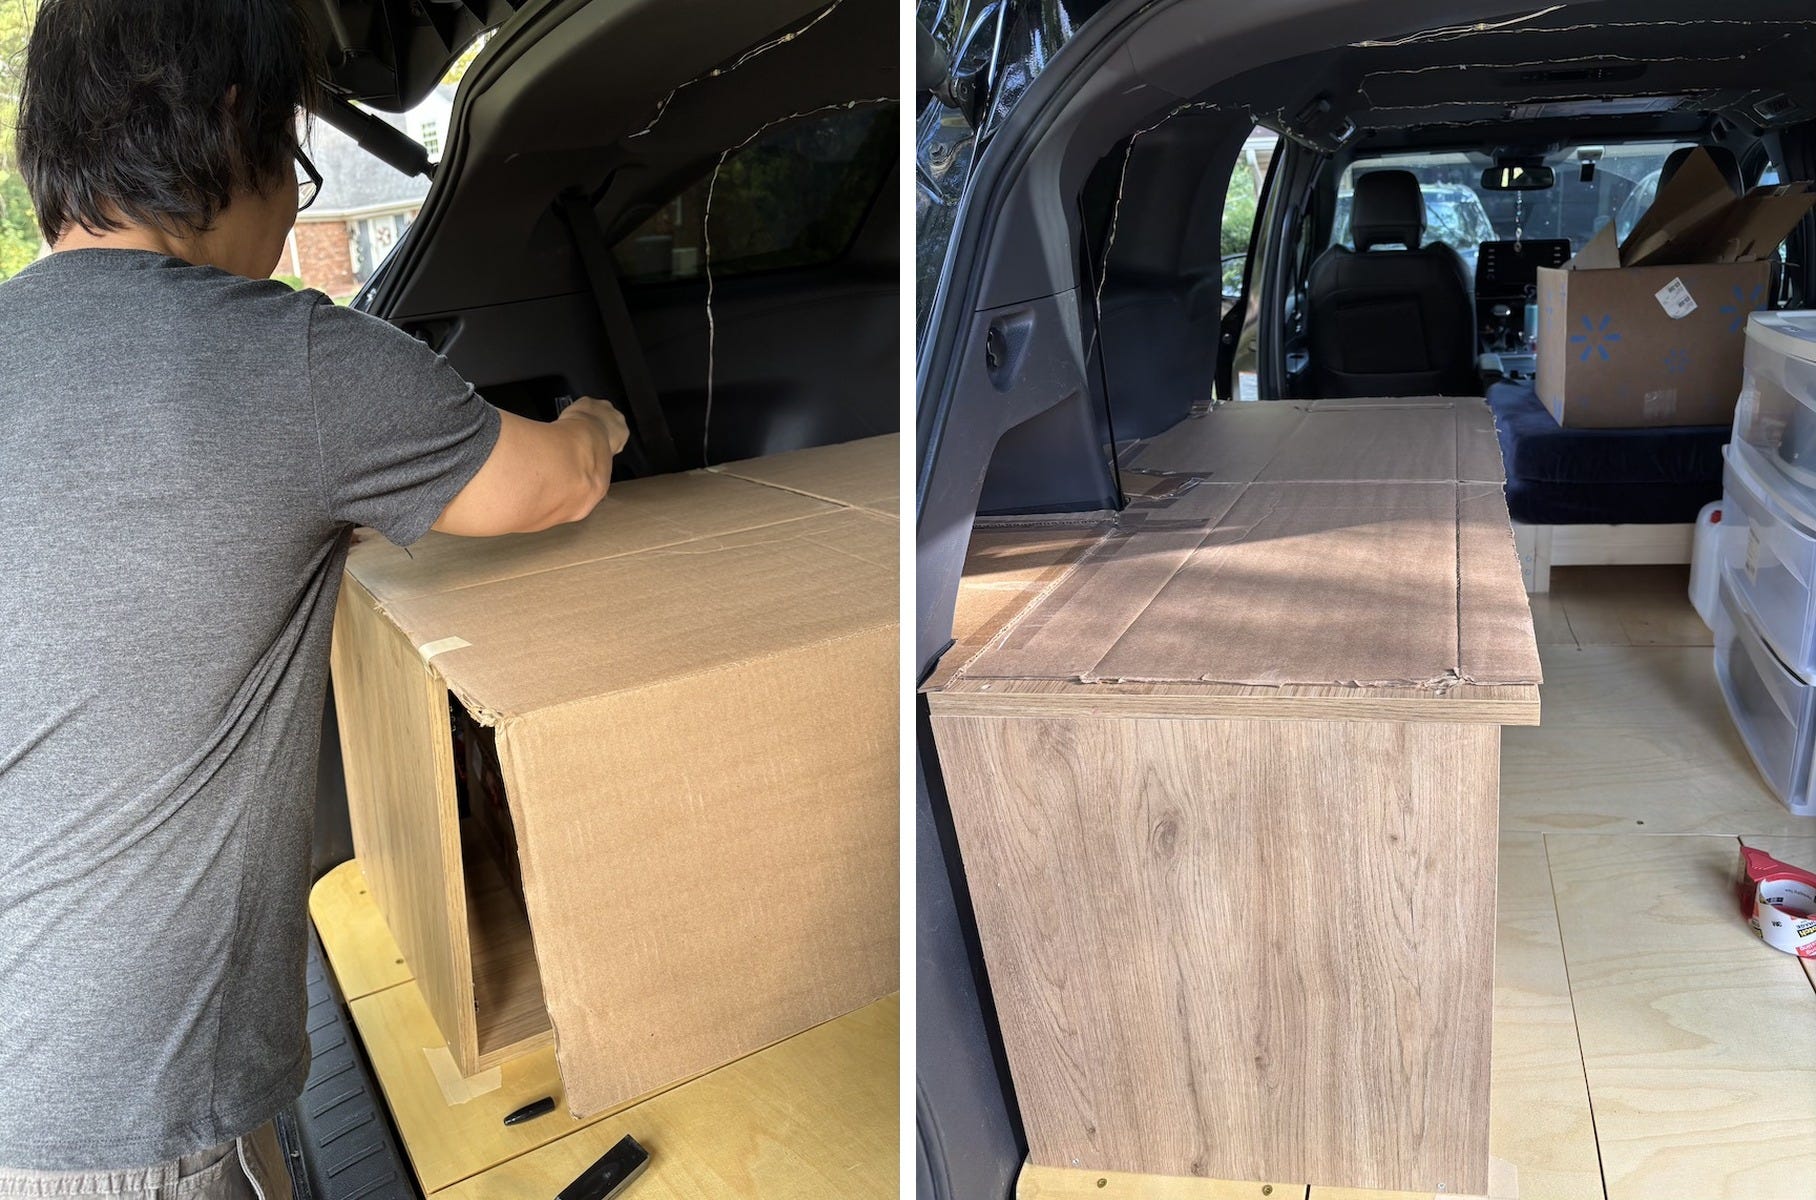
Then we cut the countertop out of 1/4 inch thick plywood, following that template. And repeated the now familiar ritual: put the plywood on the counter in the van, take it out, finesse it, put it in again. Wash, rinse, repeat.
There were a couple of spots where the overhang of the countertop was enough to cause it to droop, so we bolstered it with lumber put in the cupholders and created a brace for support on the other side.
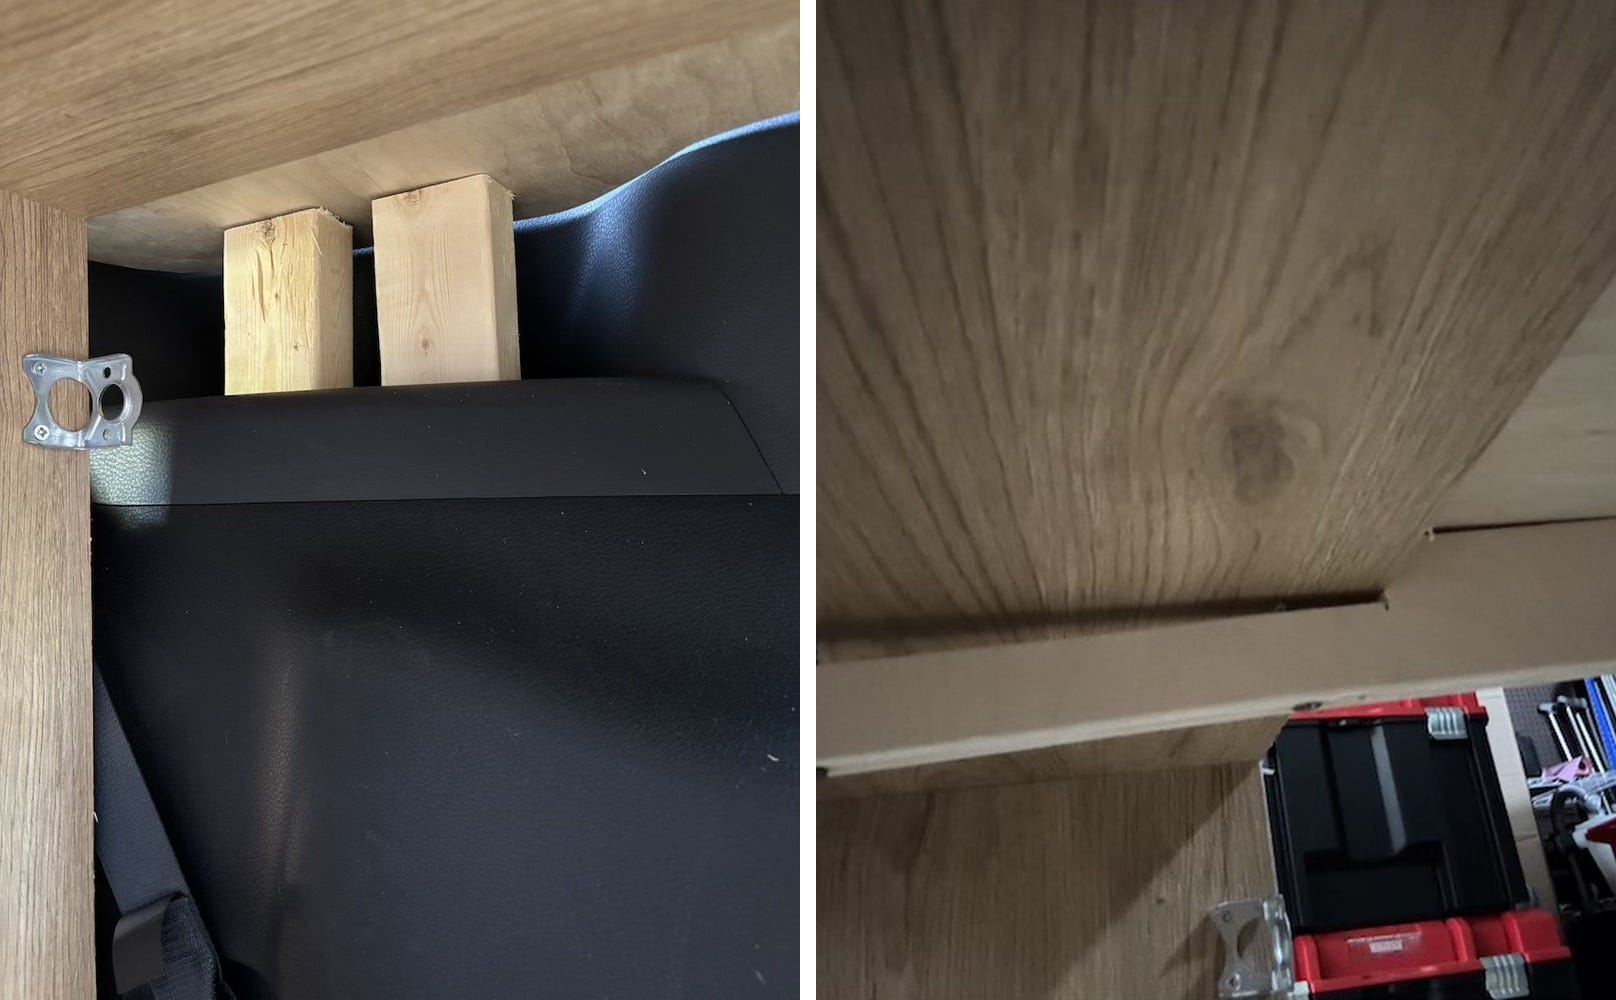
We glued the plywood to the counter with contact cement and then we were so proud of ourselves becuase the cabinet and counter were ready!
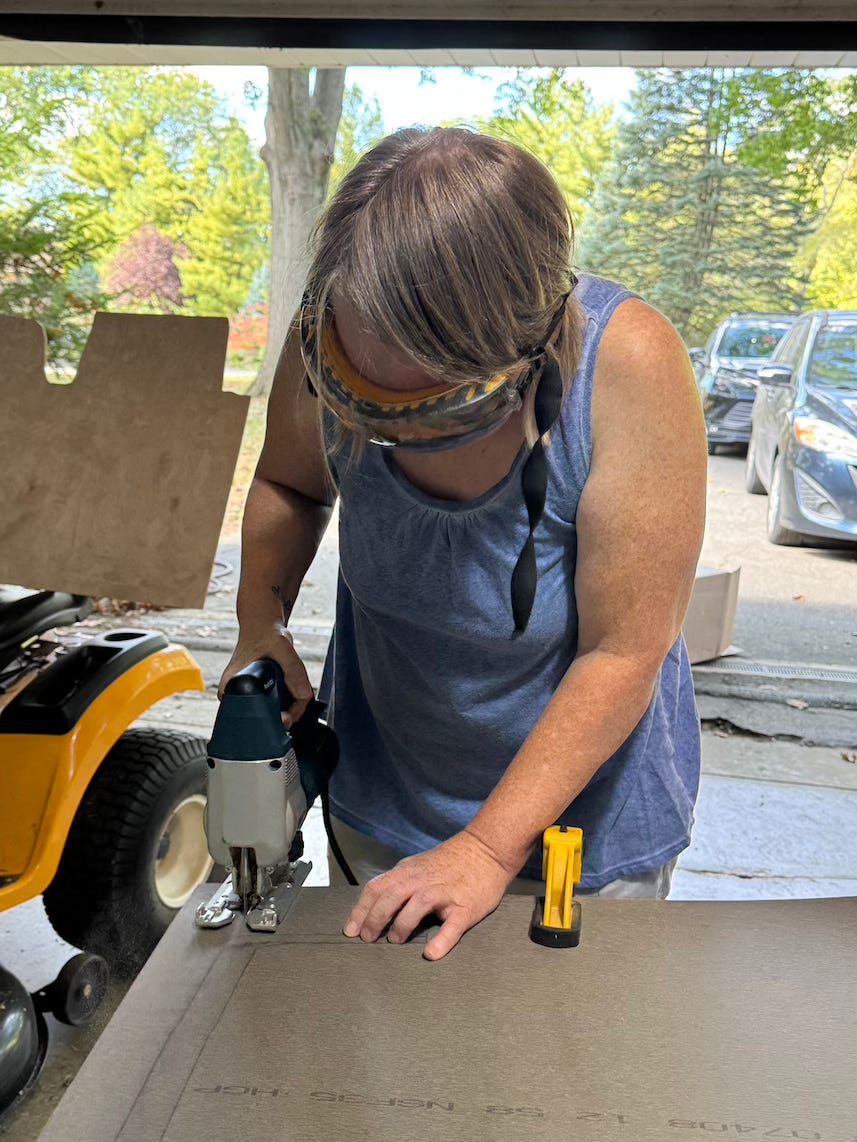
But then we had to start the laminate, which was justifiably intimidating. We got special blades for the jigsaw but it still didn’t cut it very well, so we ended up with too much overhang.
And then used contact cement to glue it onto the top and sides of the plywood. We used dowels to line it up in place and then carefully removed them one at a time to make sure the laminate stayed in place.
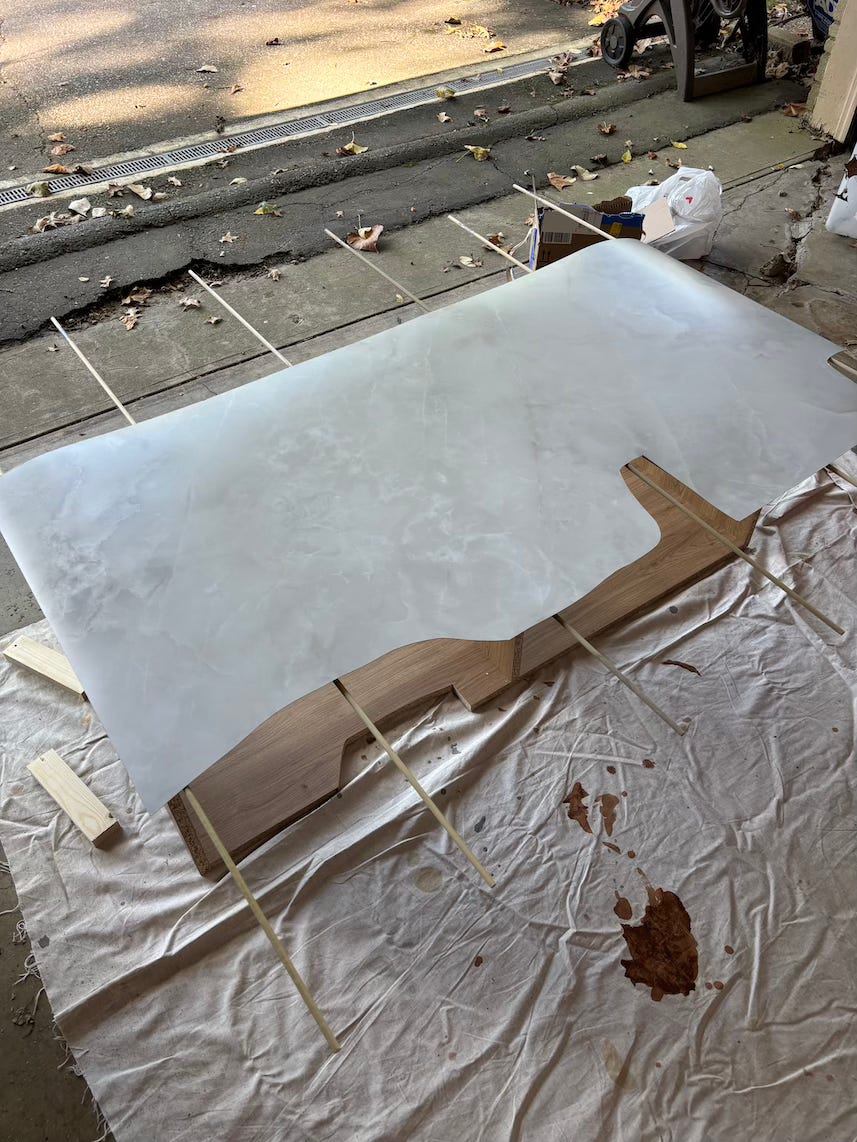
The nice thing about laminate is you don’t have to cut it EXACTLY to size. The router can take off the excess. But the router can’t get more than about a 1/2 inch of overhang, which we learned the hard way. We also learned that of all the things I struggled with in building out this van, the router finally had me turn to Andy and say “I can’t do it.” His patience and attention to detail were exactly what we needed and I had neither.
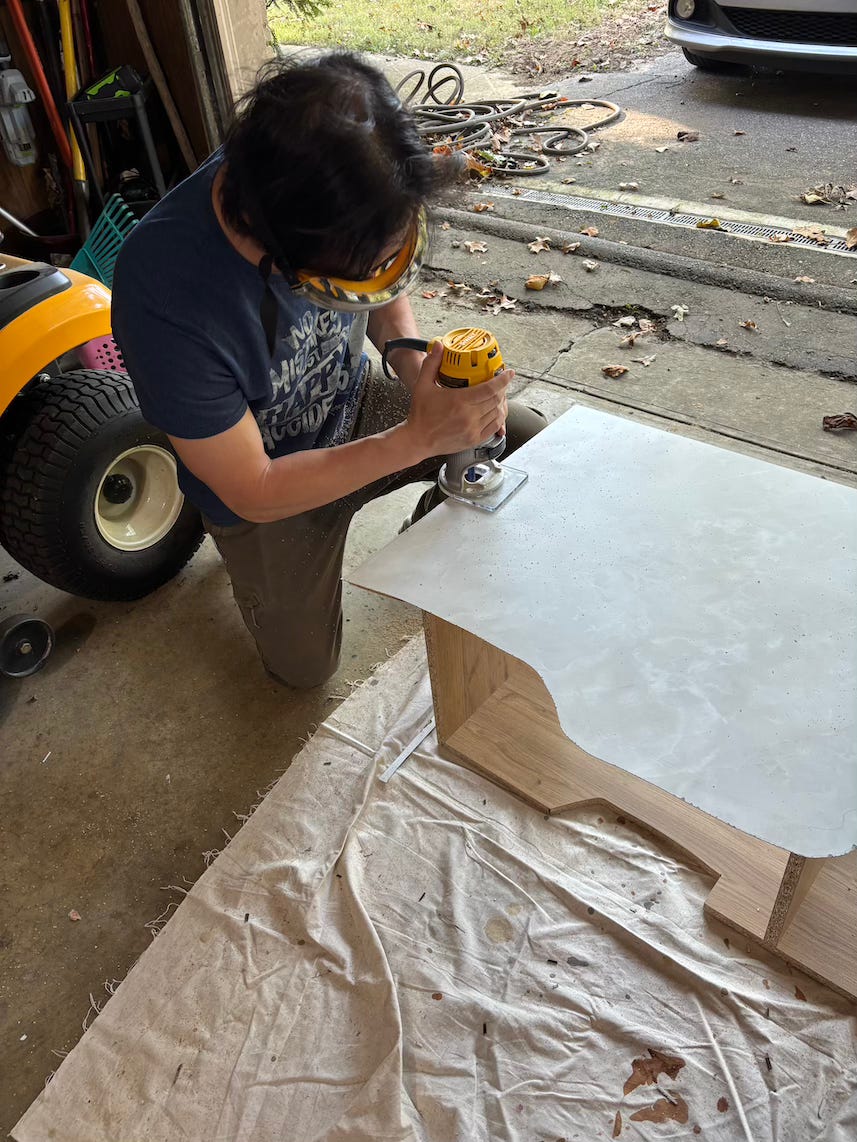
But with Andy’s skill (and his tools, tbh - I sure didn’t have a router sitting around in my apartment!) we got the laminate trimmed flush to the plywood.
And then we put it all in the van and, hallelujah, it fit! And it looked amazing.
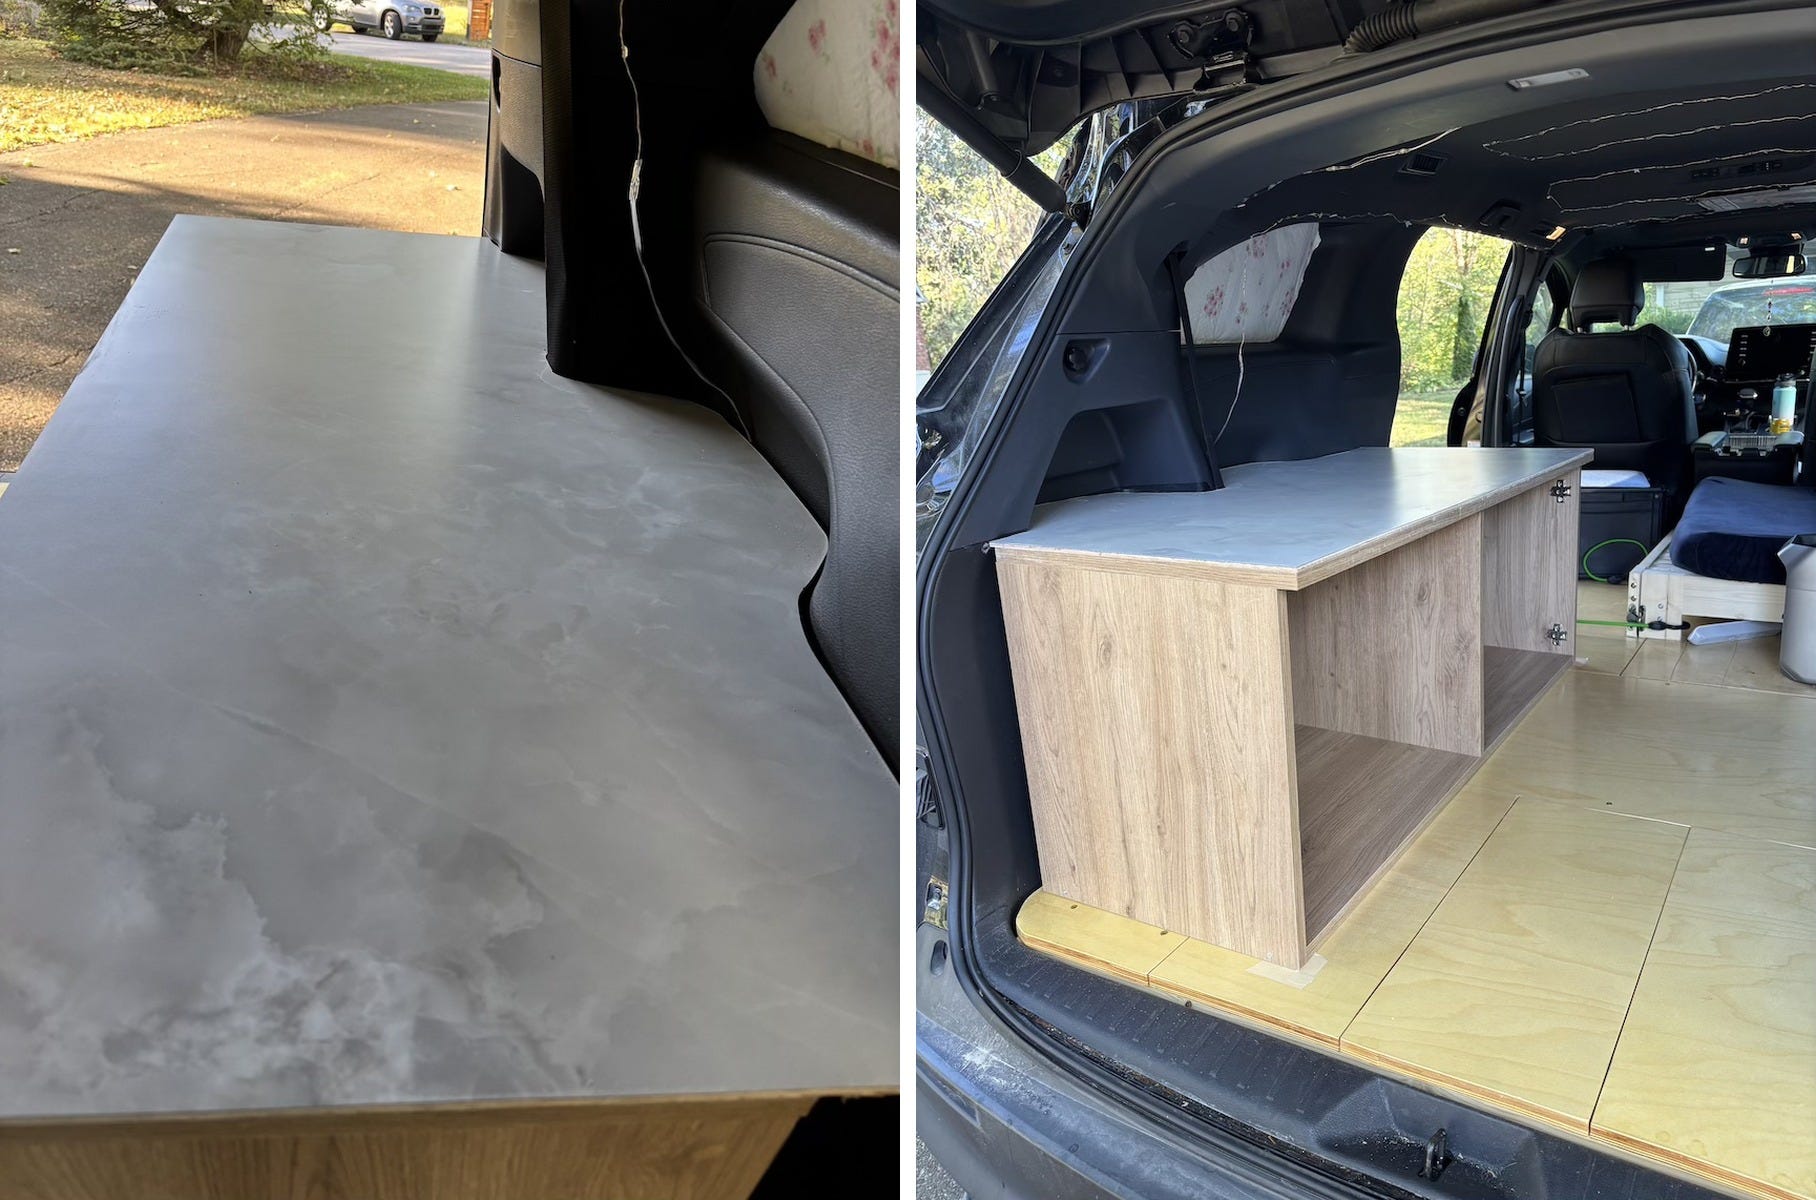
And then we had to take it out again.
But I’ll talk about that more in part 2, which will cover cutting the hole for the sink, fitting the sink, the whole water situation, how I landed on my microwave, and probably a few pictures of how it all actually organizes when I am sitting there making my tea. Maybe even a video someday about how I move around in the van (vanlife is its own sort of yoga, it turns out).